Tracking pixels example (web beacon)
Contents
Main abilities of the tracking pixels control system
- Support for a large set of TP sources (Tracking Pixel).
- TP information is stored in the client cookies with a long time to live.
- Ability to use references to hidden images or JS code snippets as a TP.
Demo
Let’s illustrate the abilities of tracking pixels on a simple example of a site
and its interaction with an abstract advertising service globalboard:
To do this, create two pages of our website offering some products.
The first welcome page is the main page and includes a link to
the page product1 containing the description of a product.
Let the products offered by the website, are advertised at some ad service globalboard.
During the advertising campaign, customers registered in the globalboard
can open the main page of the site. Then with a certain probability
interested customers can go to the page product1.
For the site owner and for globalboard service it is a successful conversion
- confirmation of the success navigation to our site.
Globalboard owners would like to know conversion details,
including details of involved users.
The interaction described above can be implemented using the ηCMS tracking pixel (TP) module. On the technical side the following actions occur when users visit our website:
globalboardredirects the client to thewelcomepage of our website at the following address:http: //mysite.com/welcome utm_source = global_board&client_id = 1332.- If a client has passed with a request parameter
utm_source = global_board, the website stores this information includingclient_id = 1332. - Opening the page
product1is a sign of a successful conversion. - If the client came from a
globalboardand moved to the pageproduct1, the system creates a hidden link to the picture with the addresshttp://globalboard.com/feedback user_id = 1332, informingglobalboardabout this event. - So long as the event occurred, the appropriate pixel tracking, stored on our website,
is removed and repeating opening of the page
product1by the client doesn’t create a repeated conversion event.
Let’s simulate this situation on ηCMS step by step.
Create Welcome page
If it was not done before, in the assemblies UI create a new template called base_content with the ability to explicitly set page alias, markup and the main content in the mediawiki format:
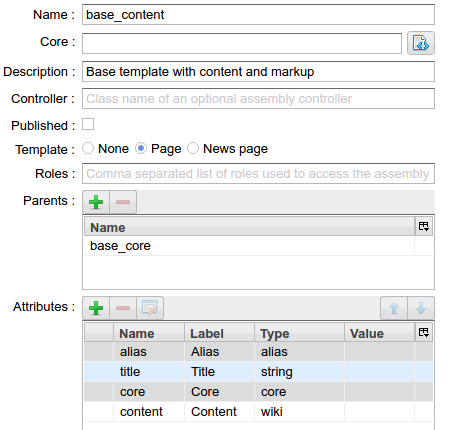
The configuration of the base content template in the Assemblies interface
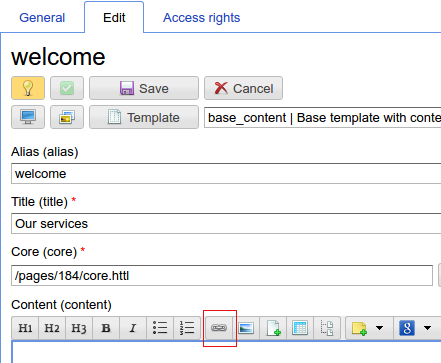
Further, using the pages UI we create a welcome page based on the base_content template.
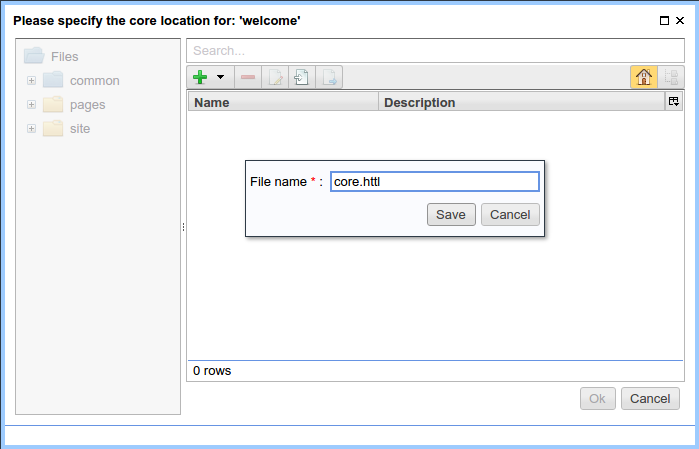
Click the button File to create a page’s HTTL markup:

Create the file core.http as local page file:
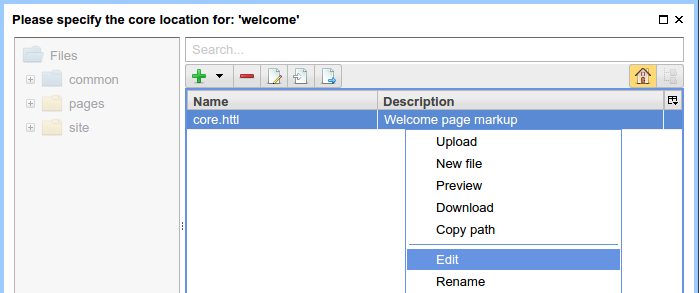
Open the editor for core.httl:
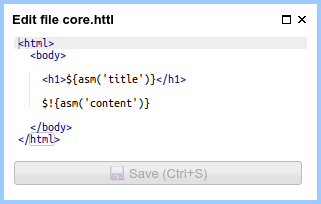
Markup of core.httl for the welcome page looks as follows:
Create product1 page
Similarly, create a product1 page with the following markup:
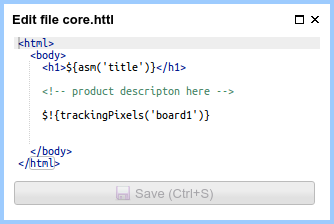
core.httl markup for product1 page
In the core.httl for product1 you can see the call of HTTP function:
$!{trackingPixels('board1')}
Calling trackingPixels will cause generation of tracking pixels as hidden image links or scripts calling the service board1 (it will be defined below). Note: you can pass a glob pattern as a first argument for trackingPixels to select services, as well as additional parameters to tune generation of TP links. For example, to enable TP links to all known services you can use:
$!{trackingPixels('*')} or $!{trackingPixels()}
To insert extra parameters to the TP links use the following form:
$!{trackingPixels('board1', ['action':'show'])}

Then for the link template containing {action} placeholder
the value will be substituted by show:

Template:    http://globalboard.com/feedback?user_id={user_id}&action={action}
Result: http://globalboard.com/feedback?user_id=1332&action=show
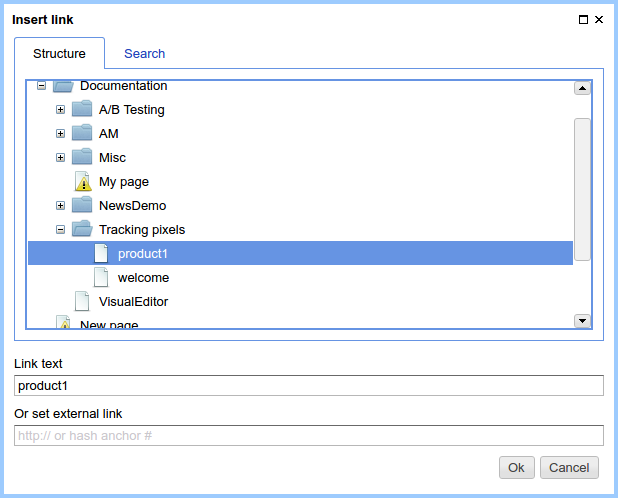
Linking welcome and product1
In other words, we define in the mediawiki markup
of the welcome page the link to the product1 page.
Create a reference to product1
Create a reference to product1
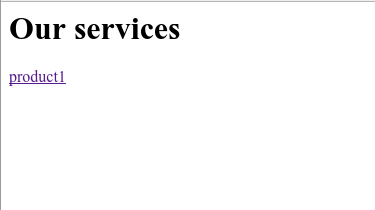
Welcome page with a reference to product1
Enable pixel tracking for all pages of the site
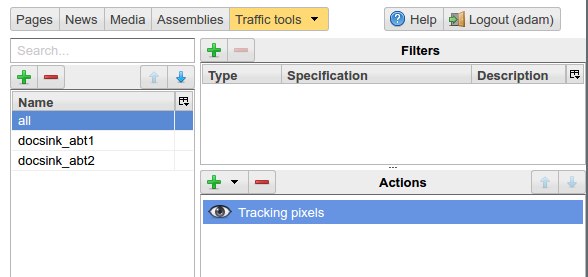
Go to the Traffic admin UI and create a new rule with the name all for all pages of the site. Then choose the action called Track traffic sources and activate it by the checkbox Activate tracking pixels:
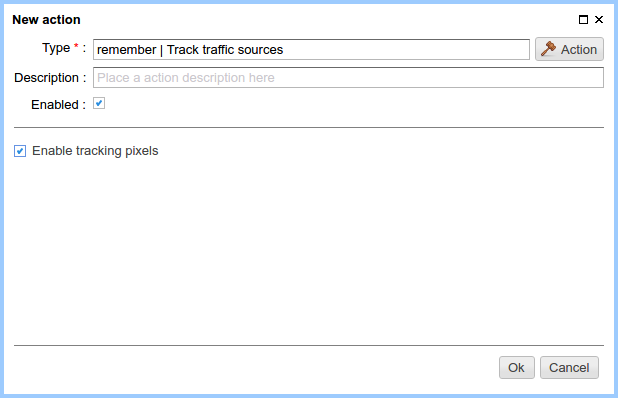
As a result we have the following view of the configuration of the rule all for all public pages of the site:
Note
Tracking pixels processing takes some server resources while showing pages. Therefore, to enable the tracking pixels it is required to explicitly create a rule matching the pages for which the tracking pixels is required.
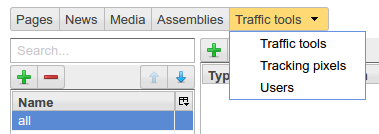
Determine the tracking pixel configuration for the globalboard service
Go to the Tracking pixels section:
Add a new tracking pixel board1 having the following properties:
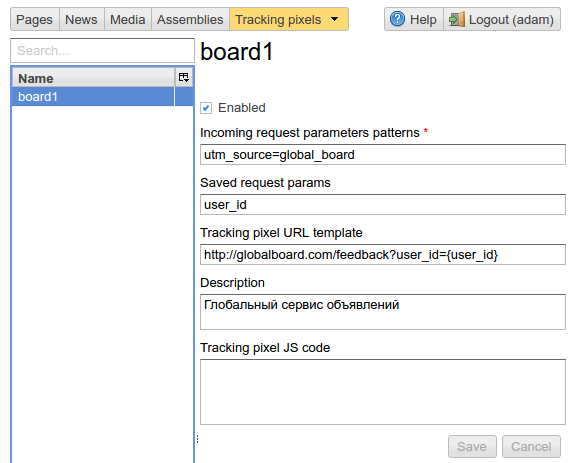
The configuration of the tracking pixel board1
utm_source = global_board – a template of HTTP GET query parameters to detect source of client’s conversion. It may contain parameters and glob parameters templates. For example:
utm_source={abc\,def},foo=barmeans that for requests with utm_source = abc or utm_source = def and the parameter value foo = bar, the tracking pixel will be saved and may be further used. In the options list within the curly braces the comma(,) must be escaped with the backslash ‘'.
Additional GET request parameters are stored in the field Stored parameters. Parameters will be saved for the future use to generate pixel URL or script. Typical example of this is a remote service customer identifier.
URL template for pixels tracking defines the format of pixel address and parameters of the query to be saved which can be included to the callback pixel address. Also in this template you can include additional parameters sent to HTTL method: $!{trackingPixels(…)}.
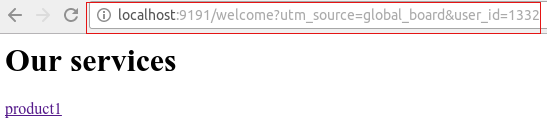
Testing the tracking pixels
Now everything is ready to start working of tracking pixels for globalboard.
To do this, go to the welcome page with additional GET parameters,
emulating a call of the globalboard service.
The following parameters are defined:
- utm_source=global_board
- user_id=1332
By clicking the link product1 user navigates to the
page containing the description of the product,
where in the context of the page placed the hidden URL which notifies the service globalboard
on a conversion:
<html>
  <body>
    <h1>Page for product 1</h1>
    <!-- product description here -->
    <img style="display:none;" width="0" height="0" src="http://globalboard.com/feedback?user_id=1332"/>
  </body>
</html>