Wiki markup (wiki)
Rich content as wiki markup. The value of attribute is a html code obtained as a result of a wiki markup parsing.
Note
The best way to embed stylized content (rich content) into your page is to use a wiki or markdown.
In ηCMS 1.0 the following formats of a wiki markup are supported:
Attribute options
Here you can select a markup type mediawiki or markdown.
Edit mode
Wiki markup editor consists of a markup textarea and control buttons. Control buttons help you to make many routine tasks easier:
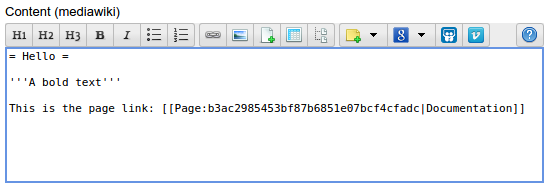
Wiki markup editor
Below there is a description of the basic controls of wiki markup editor for mediawiki


The headers of the first, second and third level, similar to <h1>, <h2>, <h3> tags in html.

Bold text

Text in italics

Insert bulleted list
Mediawiki markup of a bulleted list:
* First
* second
** The first of the second
* The third

Inserting a numbered list
Mediawiki markup of a numbered list:
# First
# Second
## The first of the second
# The third

Link to ηCMS page:
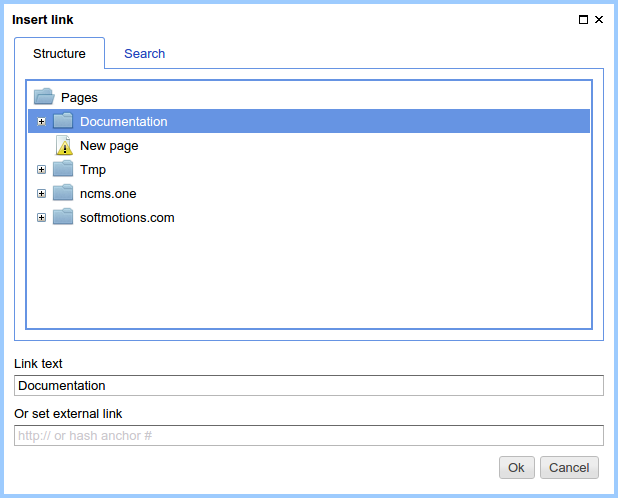
Page link selection.
As a result, a link to the page appears in the body of the mediawiki editor:
[[Page:b3ac2985453bf87b6851e07bcf4cfadc|Documentation]]
Where b3ac2985453bf87b6851e07bcf4cfadc is the unique page GUID, Documentation is the link text.

Image, link
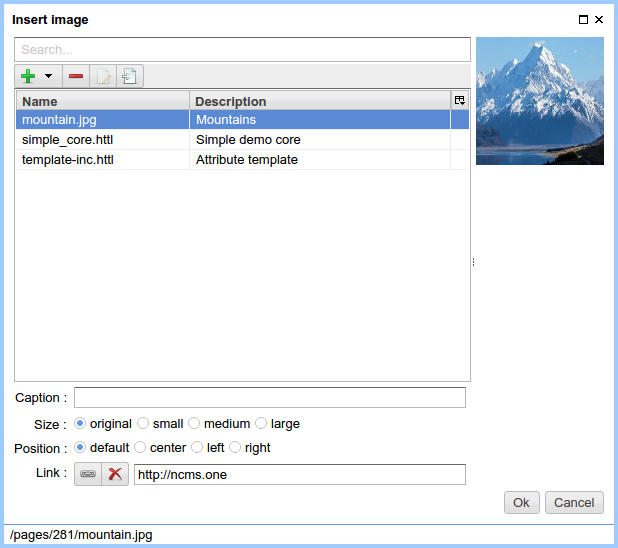
Inserting an image/image with link.
Parameters of an image insertion
Caption - caption beneath the image. You have to stylize html tags for the image and caption:
<div class="thumb tcenter">
<div class="thumbinner"
     style="width:202px;display:inline-block;">
    <a class="image"
       href="/rs/mw/link/Image:200px-/381/mountain.jpg"
       title="Mountains">
        <img src="/rs/mw/res/200px-/381/mountain.jpg"
             class="thumbimage"
             alt="Mountains"
             title="Mountains"
             width="200">
    </a>
    <div class="framecaption">Mountains</div>
</div>
</div>
Determine the display of the following styles:
Styles for the image with the caption:
div.thumb.tleft, div.thumb.tcenter, div.thumb.tright.thumbinner.thumbimage.framecaption
Styles for images without captions:
img.location-left, img.location-center, img.location-right
Image size
- original – the original size of the image without scaling
- small – width of the image is
200px - medium – width of the image is
400px - large – width of the image is
600px
Note
When choosing an image size which differs from the original, the image is scaled and stored on the ηCMS server.
Location of Image
- default - the positioning styles are not applied.
- center - an image will be in the center.
- When you insert a centered image with the caption the thumb tcenter css classes are applied for div container with an image. In the absence of a caption, the location-center css class is applied.
- left - the image is on the left side.
- For an image with the caption the thumb tleft css classes are applied for div container with an image. In the absence of a caption, the location-left css class is applied.
- right - the image is on the right side.
- For an image with the caption the thumb tright css classes are applied for div container with an image. In the absence of a caption, the location-right css class is applied.
Link
If this field is filled, the clicking on the image opens the selected resource. If the image link is undefined, the click on the image opens image in its original size.

File, link - inserting a link to a file.
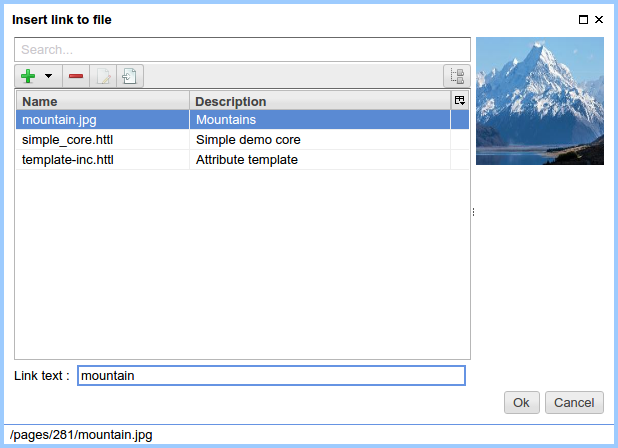
File selection dialog
After selecting the file the link to the file is inserted to the wiki markup, for example:
[[Media:/381/mountain.jpg|Mountains]]
At the same time an ordinary html <a> links will be properly displayed on a page
Note
The file linked with the page is impossible to remove, while its link is in the wiki markup.

Inserting tables
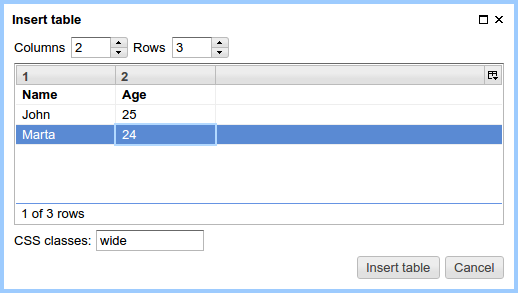
Table data dialog
For the example above the button Insert table will insert the following markup:
{| class='wide'
|-
! Name
! Age
|-
| John
| 25
|-
| Marta
| 24
|}
In this example, the table is converted to the following HTML code:
<div class="wiki">

    <div style="page-break-inside: avoid;">
        <table class="wide">
            <tr>
                <th>Name</th>
                <th>Age</th>
            </tr>
            <tr>
                <td>John</td>
                <td>25</td>
            </tr>
            <tr>
                <td>Marta</td>
                <td>24</td>
            </tr>
        </table>
    </div>
</div>

Insert tree – design of some sites requires a hierarchical tree within the pages.
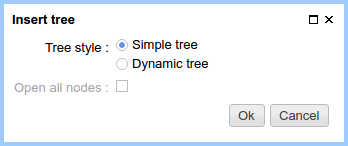
Tree options
Current options provide the following demo markup:
<tree>
-Root
-- Descendant 1
--- Descendant nesting level 3
-- Descendant nesting level 2
</tree>
It is converted to HTML with a hierarchical structure based on lists ( <ul>, <li>):
<ul class='tree'>
    <li class='open node'><span></span> Root
        <ul>
            <li class='open node'><span></span> Descendant 1
                <ul>
                    <li class='file'><span></span> Descendant of the nesting level 3</li>
                </ul>
            </li>
            <li class='file'><span></span> Descendant of the nesting level 2</li>
        </ul>
    </li>
</ul>
Note
For proper display of the tree on website pages, a site designer should define .tree css class for suchlike <ul class=’tree’> elements
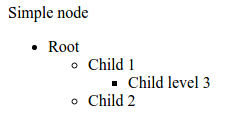
The tree without stylization
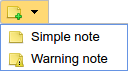
Note Insert – allows inserting the container for notes/warnings to the page.
Wiki markup for warning:
<note style="warning">Note</note>
HTML warning markup, which can be stylized by a site designer:
<div class="note-warn">Note</div>
Insert Youtube video
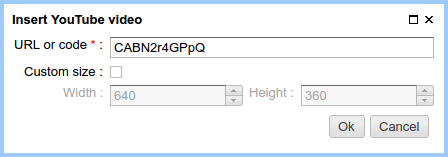
Wiki markup to insert youtube video:
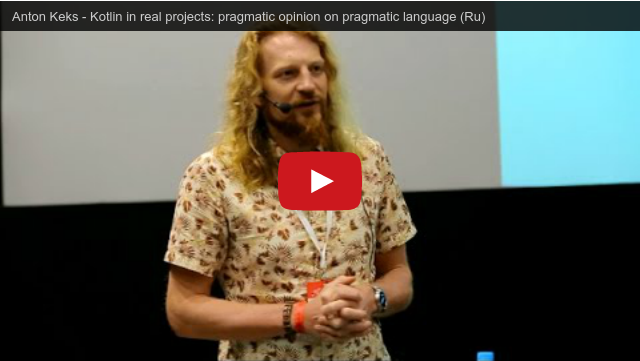
<youtube videoId="CABN2r4GPpQ"/>
As a result, in the context of the page we get youtube video:

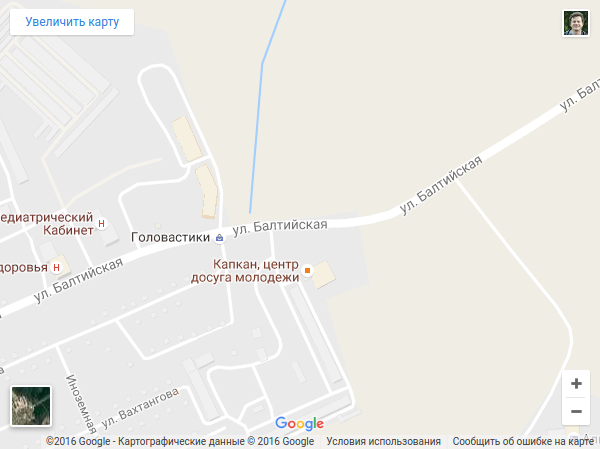
Insert the Google Map
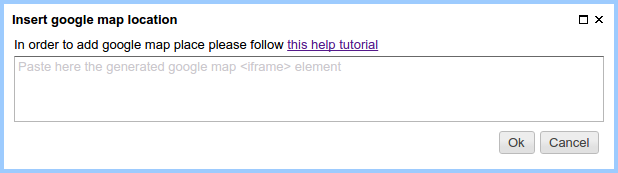
Google map insertion dialog.
For example, you can insert iframe copied from Google map:
<iframe src="https://www.google.com/maps/embed?pb=!1m14!1m12!1m3!1d2296.7406541371915!2d83.05385026852065!3d54.85480466667143!2m3!1f0!2f0!3f0!3m2!1i1024!2i768!4f13.1!5e0!3m2!1sru!2sru!4v1474967528616"
         width="600"
         height="450"
         frameborder="0"
         style="border:0"
         allowfullscreen>
</iframe>
We get the map on the page:

SlideShare Presentation
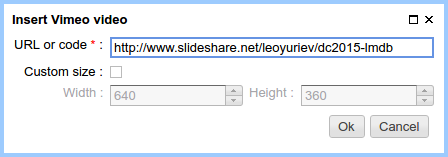
Inserting a SlideShare presentation.
In this example, we enter the Internet address of the presentation: http://www.slideshare.net/leoyuriev/dc2015-lmdb to the dialog and, as a result, we get the following wiki markup:
<slideshare code="49593515"/>
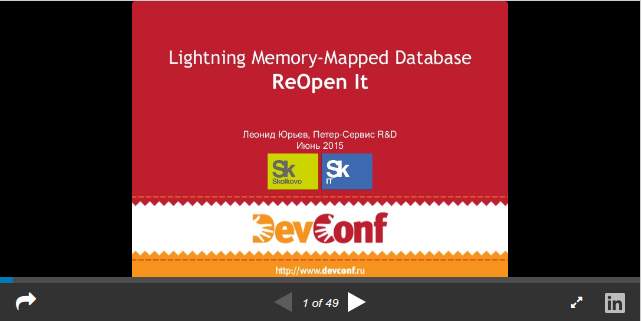
On the page we get an embedded presentation:

Vimeo video
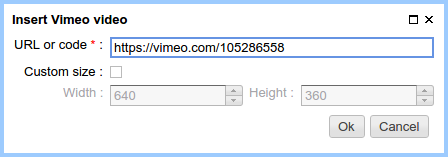
Vimeo video insert
Wiki markup for vimeo video:
<vimeo code="105286558"/>
As a result, in the context of the page we get vimeo video:
